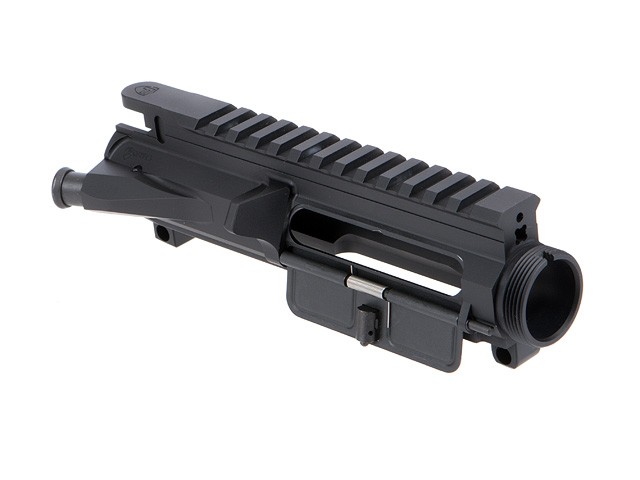
In this part of the guide we are going to look at building the upper receiver, I’m going to try to find some pics to go along with the steps. As always parts will be highlighted with direct links to the parts.
Here we go:
Intro
-We will start with the upper receiver without the barrel installed because once the barrel is installed it will be impossible to attach the ejection port cover.
-You will need the parts for your ejection port cover, the forward assist, the number three roll pin punch and holder, a pair of needle nose pliers, your bench vise and a set of padded vise jaws.
-If you’re going to assemble all of the parts of the forward assist you’ll also need a number 1 roll pin punch and holder.
-If you purchase a slick side upper (no forward assist or dust cover) just jump to the next assembly step.
Installing Ejection Port Cover:
You’ll need needle nose pliers to install the Ejection Port Cover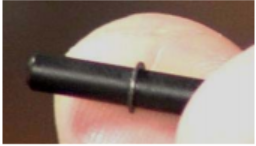
- 1. Start with the upper receiver lying on its left-hand side.
- 2. Install the small snap ring into the cut on the hinge pin.
- 3. Hold the ejection port cover and place the ejection port spring between the two folded over loops of metal with the long tail of the spring at the front inside
 detent of the cover.
- 4. Place the ejection port cover below the ejection port between the raised hinge points.
- 5. With the small cut on the ejection port hinge pin towards the front of the rifle, push the pin in from the front of the receiver to the rear, through the first raised hinge point, thru the first half of the cover and half way through the spring.
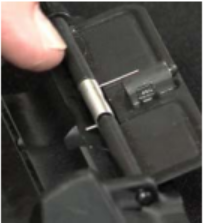
- 6. Take the small tail of the spring and rotate it and twist it so it rests against the lower lip of the ejection port putting force on the port cover so that it wants to stay open.
- 7. Once the spring is set, finish pushing the hinge pin through the spring, through the rest of the cover and into the rear raised hinge point.
- 8. Test the function of the cover by closing it and then pushing on it from the inside of the receiver. The ejection port cover should snap open quickly under the spring tension.
Installing the Forward Assist
To install the forward assist you’ll need a vise with the upper receiver vise block, a 4 oz. ball peen 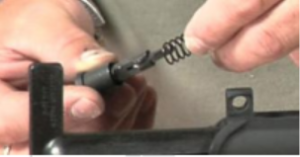 hammer and a number 3 roll pin punch and holder.
- 1. Place your receiver into the upper receiver vise block and install the insert. With the receiver
upside down, secure vise block and receiver into vise jaws. This method also works with A3 or flattop receivers.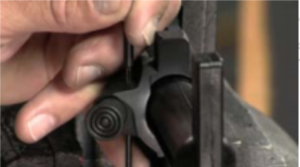
- 2. Place the forward assist spring onto the forward assist plunger and insert them into the forward assist guide hole with the small hook on the pawl facing into the receiver.
- 3. Push the forward assist all the way in and use the number 3 roll pin punch to temporarily hold everything in place.
- 4. Start the forward assist retainer pin using the number 3 roll pin holder.
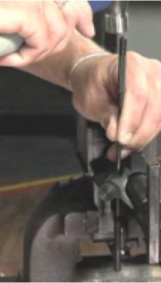
- 5. The roll pin acts as a stop to retain the plunger, so the plunger has to be depressed to properly install it.
- 6. Finish driving the pin in with the roll pin punch.
- 7. Drive the pin in far enough so that it is just below the bottom surface of the forward assist.
- 8. Test the forward assist, push it in and make sure it springs back.


